Step 1. Change Remote desktop settings
On the computer you intend to RDP to, set the Remote Desktop settings to Allow Remote Connections to this computer and remove the checkbox from Allow connections only from computers running Remote Desktop with Network Level Authentication enabled as shown here.

Step 2. Create new rdp config file
On the computer you intend to RDP from, open mstsc.exe and click on Show Options.
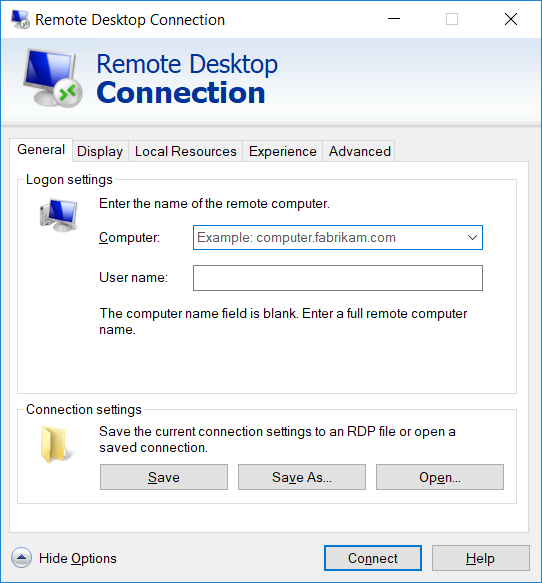
Click on Save As… and give it a new name such as AzureAD_RDP, save it somewhere easy to find.
Open the saved file using Notepad. Verify that the following two lines are present, if not, add them.
enablecredsspsupport:i:0
authentication level:i:2

Save the file.
Step 3. RDP to the target computer
On the computer that you just edited the config file, open MSTSC.exe and click on show options, then click on Open. Point it to the previously created AzureAD_RDP config file. Enter the IP address or FQDN of the computer you want to RDP to, do not enter any username.

you may see the usual RDP prompt…it’s ok, click on Connect

and depending on what device you are connecting from (and to) you’ll see different results, for example from an AzureAD joined device that you’ve logged into with the same UPN as you are using to connect to the target PC you’ll be prompted to enter your AzureAD password like so:-

and you are in

If however you are connecting from say, a Workgroup joined (non azure AD joined) device then the login experience will be different, and you’ll see a login page like this, enter your username as:
AzureAD<username@domain.com>
where <username@domain.com> is your the full User Principal Name of your AzureAD user

job done