You like to export the Let’s Encrypt certificate private key and import it on the other Exchange Servers. You first need to import the private key. This way you will be able to export the Let’s Encrypt certificate in Windows. The next step is to export the certificate.
Let’s Encrypt SSL certificate is not exportable
It’s good to know what is happening if you don’t have the private key installed. Let’s see it in action.
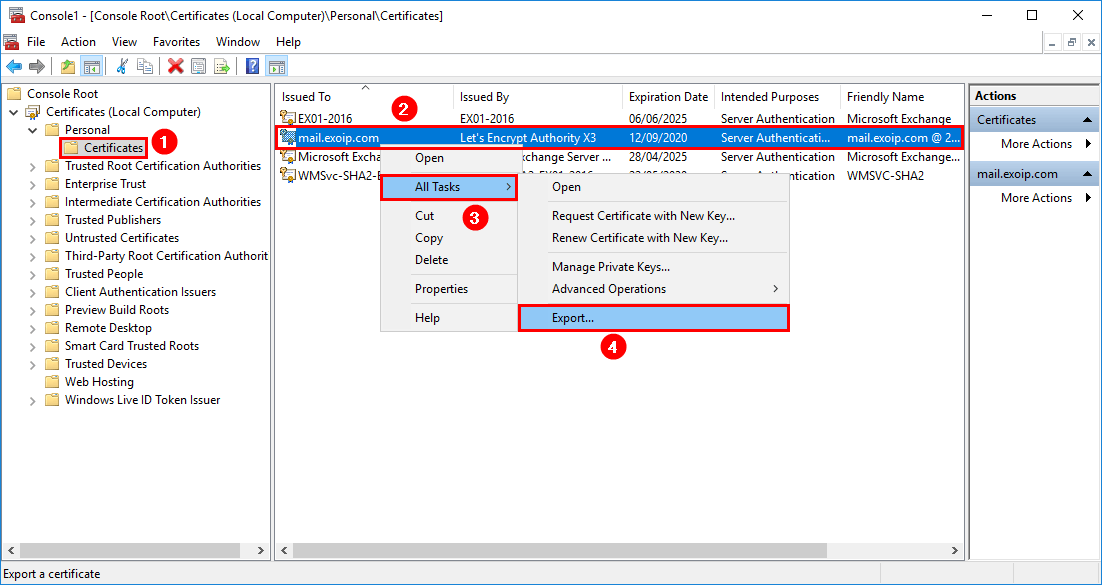
Start MMC (Microsoft Management Console) and add the certificate snap-in. Right-click the Let’s Encrypt certificate and click All Tasks. Click Export…
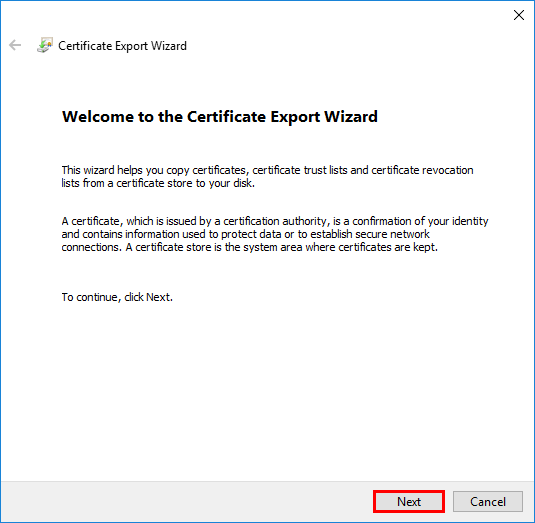
The certificate export wizard is showing. Click Next.
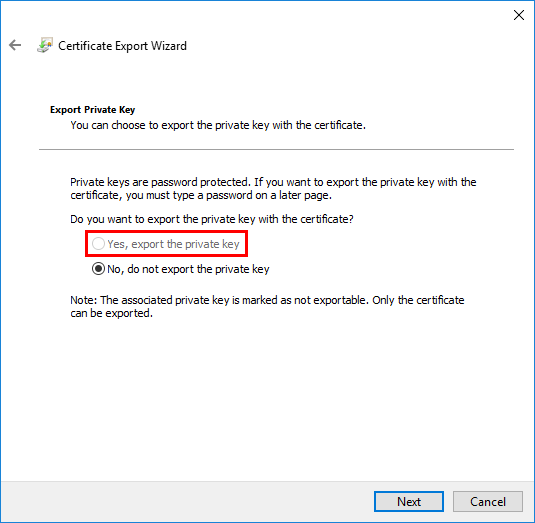
The option we need is Yes, export the private key. We can’t select the option to export the private key because it’s greyed out. Click Cancel to go back.
In the next step, we are going to import the private key. When imported, we will do the same step as we just did. This time we will be able to select the option to export the private key. More on that later in the article.
Find private key password in Win-ACME
Before we can import the private key on the system, we have to get the certificate password. The certificate password can be found in the Win-ACME client.
Go to the Win-ACME folder and start the Win-ACME client. Select A to manage renewals and press Enter.
|
1
2
3
4
5
6
7
8
9
10
11
12
13
14
15
16
|
A simple Windows ACMEv2 client (WACS)
Software version 2.1.8.847 (RELEASE, PLUGGABLE)
ACME server https://acme-v02.api.letsencrypt.org/
IIS version 10.0
Running with administrator credentials
Scheduled task looks healthy
Please report issues at https://github.com/win-acme/win-acme
N: Create certificate (default settings)
M: Create certificate (full options)
R: Run renewals (0 currently due)
A: Manage renewals (1 total)
O: More options...
Q: Quit
Please choose from the menu: A
|
Select D to show the renewal details and press Enter.
|
1
2
3
4
5
6
7
8
9
10
11
12
13
14
15
|
Welcome to the renewal manager. Actions selected in the menu below will be
applied to the following list of renewals. You may filter the list to target
your action at a more specific set of renewals, or sort it to make it easier
to find what you‘re looking for.
1: mail.exoip.com – renewed 1 time, due after 2020/8/8 18:08:45
D: Show details for the renewal
R: Run the renewal
A: Analyze duplicates for the renewal
C: Cancel the renewal
V: Revoke certificate(s) for the renewal
Q: Back
Choose an action or type numbers to select renewals: D
|
Find the certificate .pfx password and copy the password. In my example it’s n8LVJLxx2vQrC3QB2G7cn/mdeMK/RyGMBt8ECq8GYjs=.
|
1
2
3
4
5
6
7
8
9
10
11
12
13
14
15
16
17
18
19
20
21
22
23
24
25
26
27
28
29
30
31
32
33
34
|
Details for renewal 1/1
Id: xfRT7WjC40mP2rVUt1uybg
File: xfRT7WjC40mP2rVUt1uybg.renewal.json
FriendlyName: mail.exoip.com
.pfx password: n8LVJLxx2vQrC3QB2G7cn/mdeMK/RyGMBt8ECq8GYjs=
Renewal due: 08/08/2020 18:08:45
Renewed: 1 times
Target ————————————————————————————————–
– Plugin: Manual – (Manual input)
– CommonName: mail.exoip.com
– AlternativeNames mail.exoip.com,autodiscover.exoip.com
Validation ————————————————————————————————–
– Plugin: SelfHosting – (Serve verification files from memory)
Order ————————————————————————————————–
– Plugin: Single – (Single certificate)
CSR ————————————————————————————————–
– Plugin: RSA – (RSA key)
Store ————————————————————————————————–
– Plugin: CertificateStore – (Windows Certificate Store)
– Store: My
– AclFullControl: network service,administrators
Installation ————————————————————————————————–
– Plugin: IIS – (Create or update https bindings in IIS)
Installation ————————————————————————————————–
– Plugin: Script – (Start external script or program)
– Script: ./Scripts/ImportExchange.ps1
– ScriptParameters ‘{CertThumbprint}’ ‘IIS,SMTP,IMAP’ 1 ‘{CacheFile}’
‘{CachePassword}’ ‘{CertFriendlyName}’
History ————————————————————————————————–
1: 14/06/2020 16:08:45 – Success – Thumbprint E06F2B82608090BAE540841E3EA9895804951F83
Press <Enter> to continue
|
Now that we have the password for the private key, we can import the certificate in the system.
Import private key in Windows
Open the following path to find the certificate.
|
1
|
C:\ProgramData\win–acme\acme–v02.api.letsencrypt.org\Certificates
|
Double-click the certificate to start the certificate import wizard.
Select Local Machine and click Next.

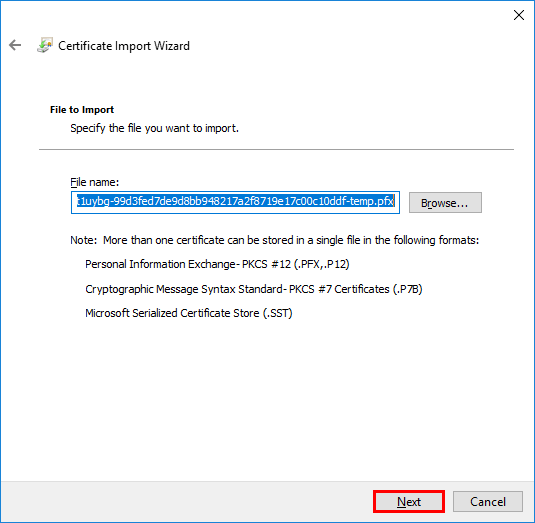
The file name path will be filled in automatically. Click Next.
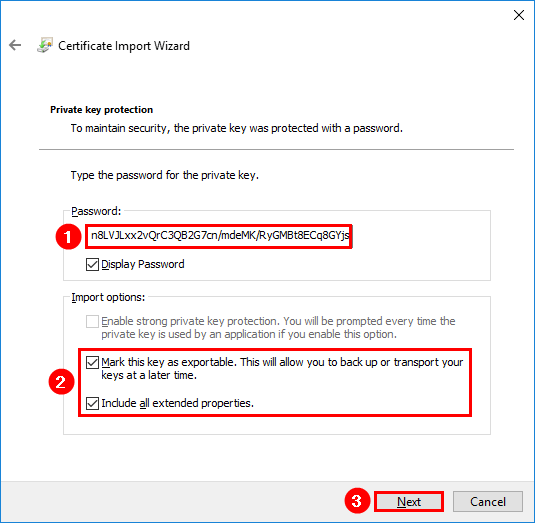
Paste the private key password that you copied in the earlier step. Check both of the checkboxes:
- Mark this key as exportable. This will allow you to back up or transport your keys at a later time.
- Include all extended properties
Click Next.
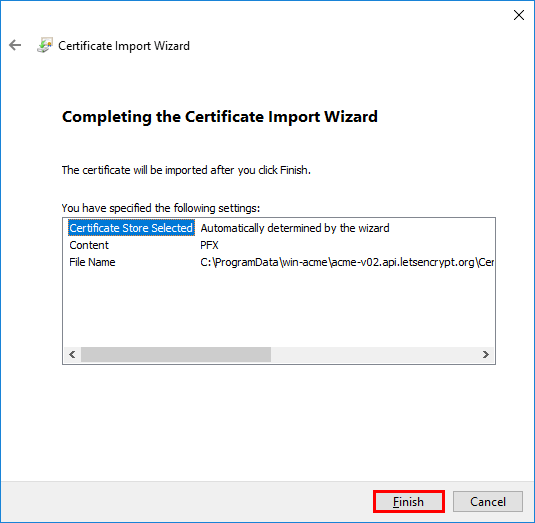
Click Next to automatically select the certificate store based on the type of certificate.

Click Finish to complete the certificate import wizard.
Certificate import was successful. Click OK.

The next step is to export the Let”s Encrypt certificate. Remember at the beginning of the article, we couldn’t export the certificate because of the private key not being exportable. Will we be able to select the option now?
Export Let’s Encrypt certificate to PFX
Click the refresh button in the toolbar, if you already have the MMC console open. If you want, you can close the MMC and start a new session.
Start MMC and add the certificate snap-in. Right-click the Let’s Encrypt certificate and click All Tasks. Click Export…
Click Next.
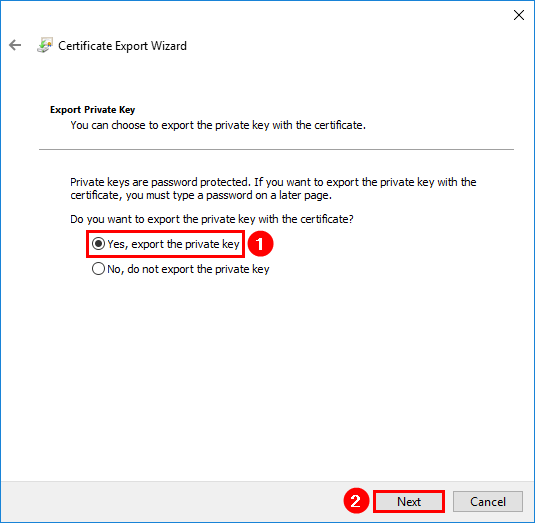
Export is this time selectable. Click Yes, export the private key and click Next.
Check the following checkboxes:
- Include all certificates in the certification path if possible
- Export all extended properties
- Enable certificate privacy
Click Next.

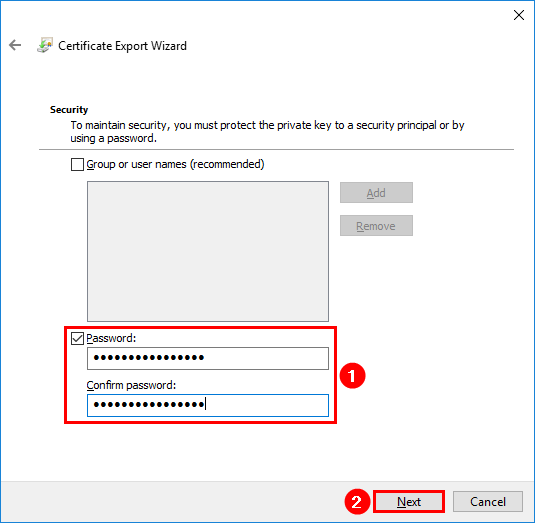
Select the checkbox Password. Fill in a secure password that will protect the certificate. You will need the password when importing the certificate. Click Next.
Click Browse and select a folder that you want to place the certificate in. In my example, it will be in the folder Certs on the C: drive. Make sure to write the name including PFX format.

Click Finish to complete the certificate export wizard.

The certificate export was successful. Click OK.
Start File Explorer and browse to the exported certificate. This is the exported Let’s Encrypt certificate including the private key.
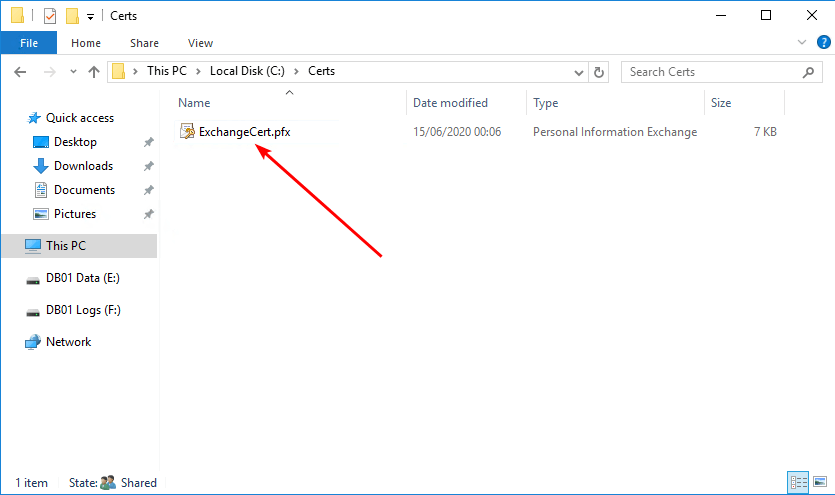
Let’s Encrypt certificate private key is successfully exported in Windows Server. Now that you have the certificate you can import the certificate in another Exchange Server.
Conclusion
In this article, you learned how to export Let’s Encrypt certificate private key. It’s good to export the certificate and import the certificate on other Exchange Servers. Find the password by starting the Win-ACME client. Install the private key with the password. After that, the certificate is exportable. You should not request a certificate per Exchange Server. One certificate can be installed on all the Exchange Servers.